Showing posts with label dye. Show all posts

05 March 2013

Papermaking workshop photos

I just found some photos from a papermaking workshop I ran a few years ago. I had always planned to publish them on here but when my computer died a few years earlier I thought I had lost them. I just found a copy on an old portable hard drive. It reminds me of the importance of backing up your work. I will post a whole pile of the photos (yes I'm biased) but I think there are some really great ones.

I haven't taught papermaking since this last workshop as there is a huge amount of preparation needed. Maybe one day I'll teach another one.

The photos shown were a 4 day workshop that included a whole range of papermaking techniques.


Some of the equipment for the day


Some of the additional plant products I provided for adding to the paper pulp


The room setup with vats everywhere.


Tubs of cross shredded paper waiting to be processed.


White paper pulp with dye squirted on top- yet to be mixed


Some of the many sheets drying.

15 March 2012

Orizomegami

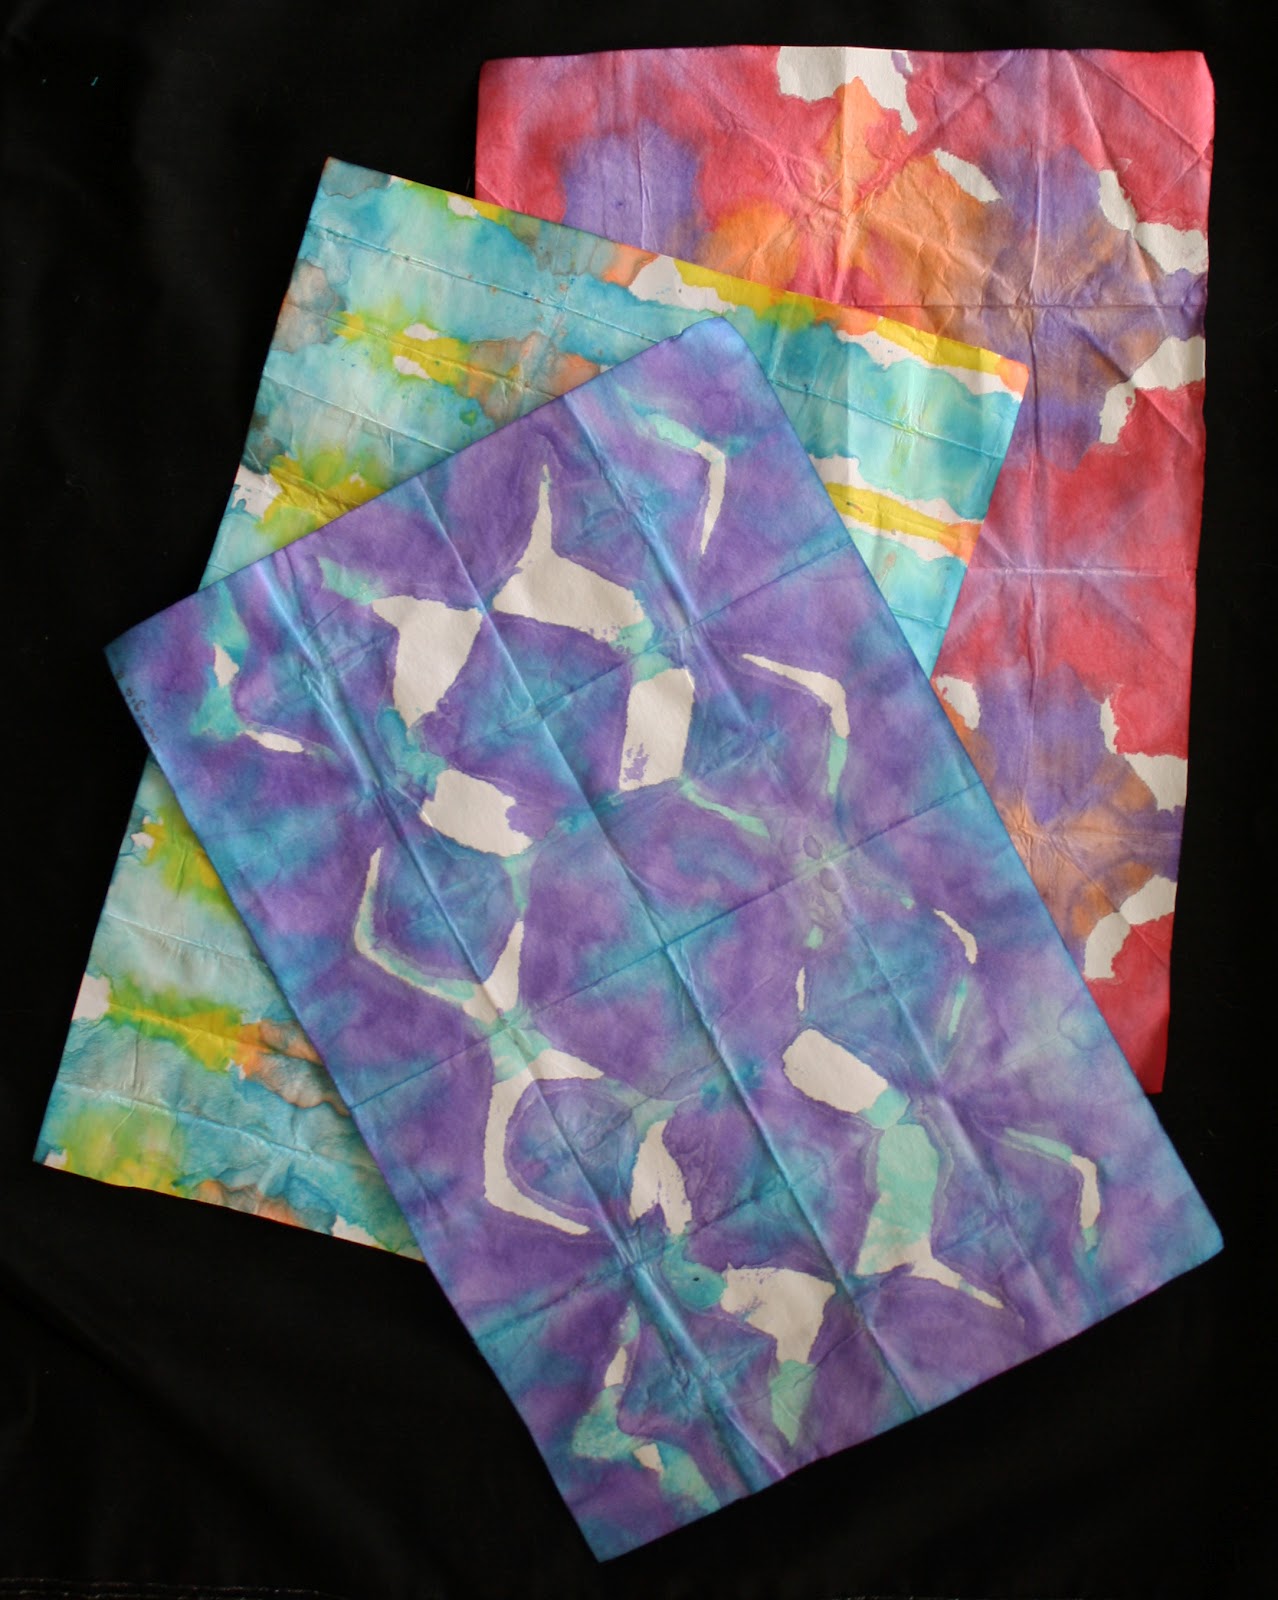
Orizomegami is the Japanese art of decorating papers by a method of folding and dipping them into dye. It is almost a mix of Origami (the paper folding part) and tie dying. Below is a diagram from a book I photocopied about 10 years ago (have no idea what the book was anymore sorry) and a couple of photos of my dyeing work that I used as samples with my students. 


Now we have finished dyeing our papers we are using them to make covers for accordion bound books. 


09 April 2011

Over-dyeing indigo

This was just a small piece of left over indigo dyeing that didn't work overly well so I over-dyed it with red procion dye. I actually quite like the result.

Indigo dyeing yet again

I'm not sure what it is about indigo dyeing but it sure has an addictive quality for me. The pieces below were dyed using the same vat I made up a few weeks ago.


This is one of my pieces above while it was oxidising on the clothes line.


Here is a section of the piece above after finished oxidising and having been ironed.


Another piece oxidising above. 


The piece above has finished oxidising and has been ironed.


I clamped 2 pieces of wood on the fabric above after folding it into a tight rectangle. I was disappointed when I opened it up to find there were some little spots on the white area. When I looked back at my wooden blocks I realised one of them had a little hole on it so some dye creeped in. 


22 March 2011

Indigo dyeing

At work last week I mixed up an indigo vat for our certificate 3 students. The vat didn't have the right Ph level and was playing up. This week I got it working perfectly. Below are some of the photos of the vat and the dying in progress. It is synthetic indigo, I use my own recipe if anyone wants a copy.


This is my very messy looking indigo vat. Works brilliantly!


Below are some photos i took of my work unwrapping. I love the beautiful green colour you get when the fabric is oxidising. If only you could keep the colour mix.


The red tray in the photo works quite well, it was really just there to catch the drips.


This is a photo of one of my students work just hanging on the line.


Now that most of the students have had a chance to do some dyeing, I think I'm going to try and do some myself. I just need to find the time is the trouble. I've done it in past years but I would really like to do some more pieces. 


06 December 2010

sketchbook covers

I've been stuck writing reports and finishing up school stuff for the last few weeks so my posts have been minimal. About the only thing I got organised is the covers on my sketchbooks. I've made them so that I can interchange them between books.


This first cover is just shapes that I put on with fusible  
   webbing and then did some hand embroidery.


This second cover has a section of random patchwork type 
 fabric on it.


 This last cover is a whole heap of small pieces of my dyed 
 fabric. They've all been hand stitched together to make the 
 cover. I couldn't tell which was the front and back easily, 
so I then put a piece of ribbon on the front.