30 November 2012

New bag- bad fabric

I decided that it was time to make myself a new bag for school. I needed one that could fit my laptop and my teachers diary in it. I bought this really cute piece of fabric at the craft and quilt show. I didn't look too closely when i bought the fabric, it simply felt nice and soft. I made the basics of the bag and it then came to attaching the patterned fabric. I then looked closely at the fabric to find it was like muslin but was made up of two layers. The pattern was only printed on the top layer and was very susceptible to laddering. The two layers were linked together with lots of little dots, basically like a form of glue dots. It was a really good warning to me to make sure I pay more attention to the fabric I buy in future.


Below are photos of the finished bag- both sides are slightly different


Below are close-up photos of the fabric. Good lesson learnt.


Worlds best cat enclosure

Since I moved house I've been too scared to let the cats out in the backyard, unless on a leash. I have high fences and some of them have bamboo type stuff on them. I was worried the cats might jump over the fence and not be able to get back again. I also live on a busy road and the cats have never ever experienced traffic before.

That is where my Dad comes into it. Wonderful Dad came across the other weekend and built me a cat enclosure. It is 6 meters long and 2 meters high and 1 1/2 meters wide. It has a covered in area where they are protected from the weather and he built it so that it is in shade most of the day.

My 2 girls absolutely love it. I put them in it all day while I'm at work if the weather isn't too hot. Otherwise I put them in it for a few hours at night when I get home. They think it is fantastic. I can't get Mille, the small grey one to even get out of it some nights.


26 November 2012

Creative Packaging

Below is a collection of wonderful types of packaging. Some of them are quite ingenious, I often wonder how people come up with such ideas. Next year I'm teaching year 10 design and think I would like to do something on product packaging.


Making a painted collage

When I teach new classes I often make a sample piece of work so that the students have a sort of guide to look at. I sometimes make the pieces along side the students, just one step ahead at a time. Other times I will make the whole artwork prior to starting teaching the lessons.

The artwork below relates to the student artwork in my previous post. The class started off by doing blind contour drawings and continuous line drawings of teapots and teacups. Realistic drawing was then taught next. A lesson on composition followed the drawing so that students could decide on an image for their final work.

I realised that I don't have the photos of all the steps for this work unfortunately. Below are the only photos I could find.


Above is the initial collage.


Above Image: As I didn't want to paint over the collage (so students could still view the first parts) I photocopied it before adding paint. Sorry about the reflection from the flash.


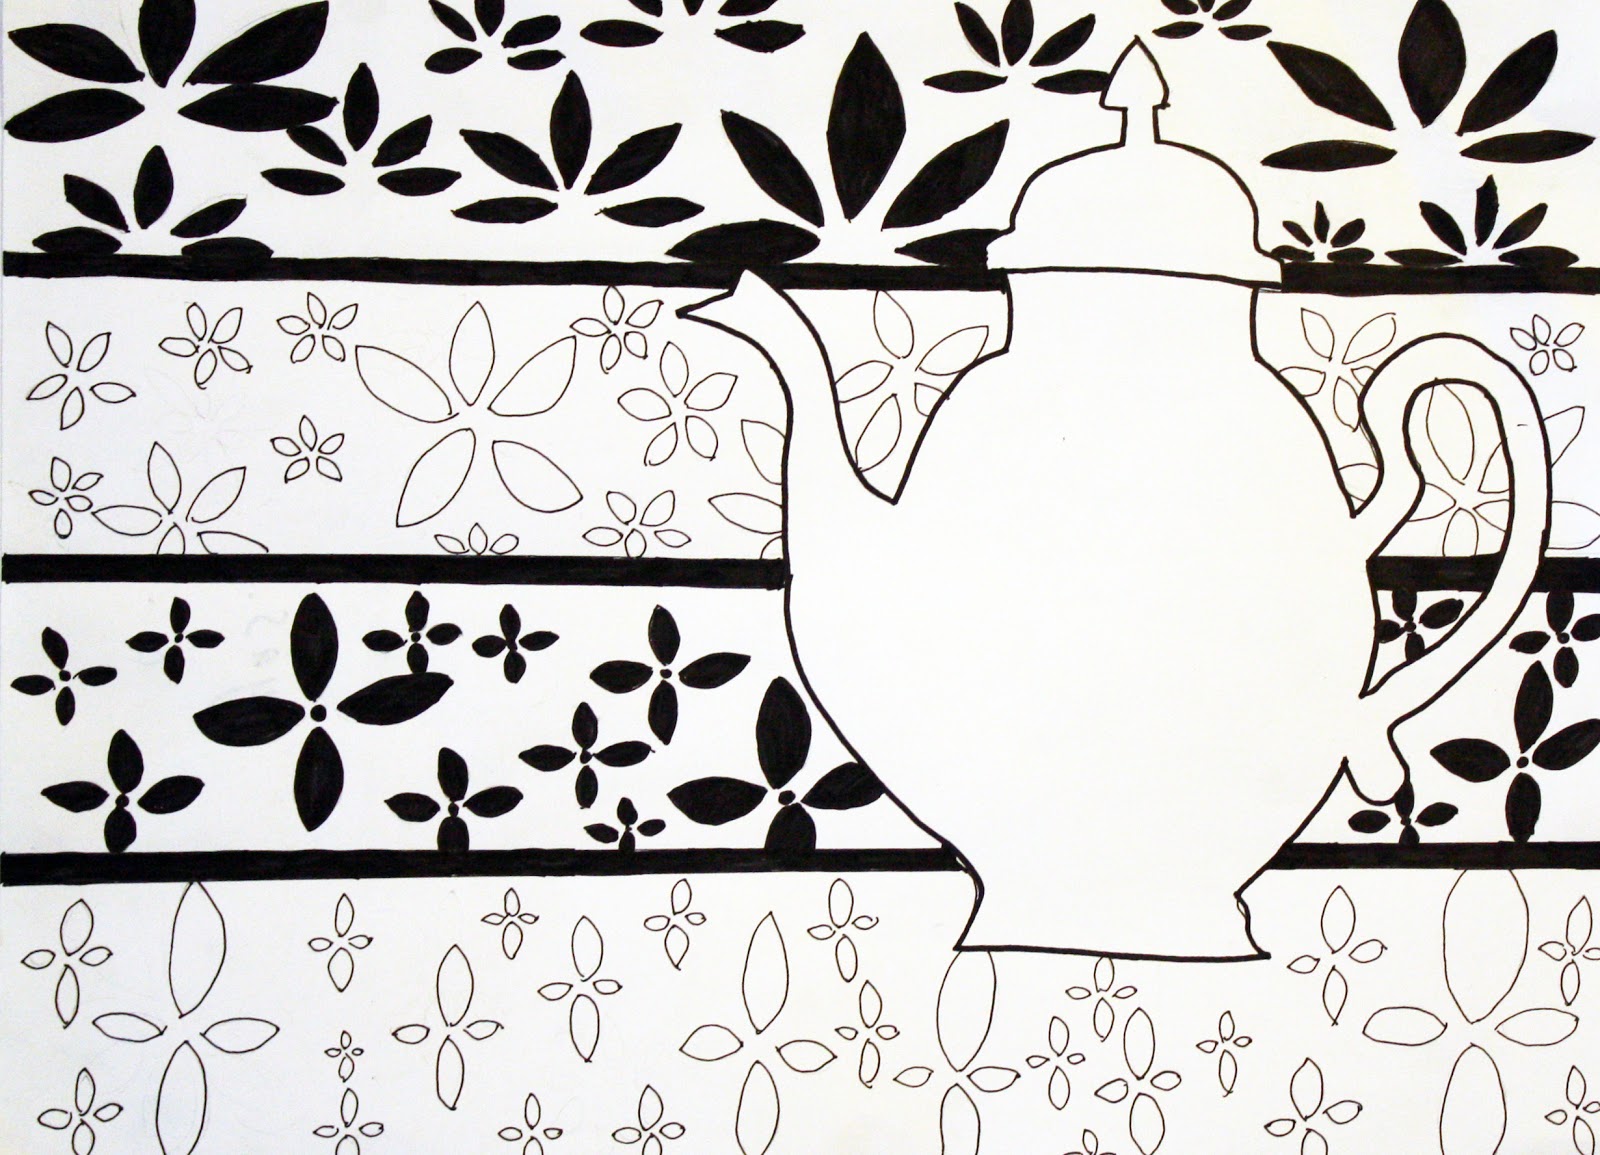
The image above has now had some black pen added to show shadows and the start of some detail. The shadows have come out darker in the photo than the actual work. If I wasn't so tired I would have gone to good old Photoshop. 


25 November 2012

Teacup and teapot collages

A few weeks ago my gorgeous Year 9 girls finished off their teacup/teapot collages. The year 9's were also working on the Alice in Wonderland idea of the mad hatters tea party.

The class started off by doing blind contour and continuous line drawings of teacups and teapots. We then moved on to learning about realistic drawing of teacups and teapots. Students then worked out a composition they liked and set about collaging on top of their drawing. Paints were then applied and black pen for final details. Some of the results are below. I will post detailed step by step photos of the process in a future post.


I love the one above for its creativity.


I know I shouldn't have favourites but the one above is absolutely divine.

12 November 2012

Tea cup and teapot drawings and paintings

Below are some year 8 artworks based on the same principles as listed in my previous post. The main difference is that these students chose to work in colour using watercolour paint.


11 November 2012

Gorgeous cuff links

I saw these cuff links last weekend when shopping with a friend. At first I thought they were bowls full of beads. Upon closer inspection I realised they were cufflinks. Two chinese knot balls joined with a piece of elastic. They were so gorgeous I couldn't help but photograph them, and also play with handfuls of them until the shop assistant told me off. There were ten bowls of all different colours, I'd only photographed four of the bowls before being asked to stop.


Teacup and teapot drawings

As I mentioned some time ago on here, my year 7,8,9 and 10 students have all been working  to an Alice in Wonderland theme.

In particular, my year 8's focussed on the Mad Hatter's Tea Party. First of all we studied the elements and principles of design and then moved on to still life drawings. The culmination of these things led to students producing an image of a teacup or teapot that employed the use of pattern, line, shape and positive and negative space.

Some pretty good work if I do say so myself.